Siniat intershield (mould resistant shaftliner)
Description
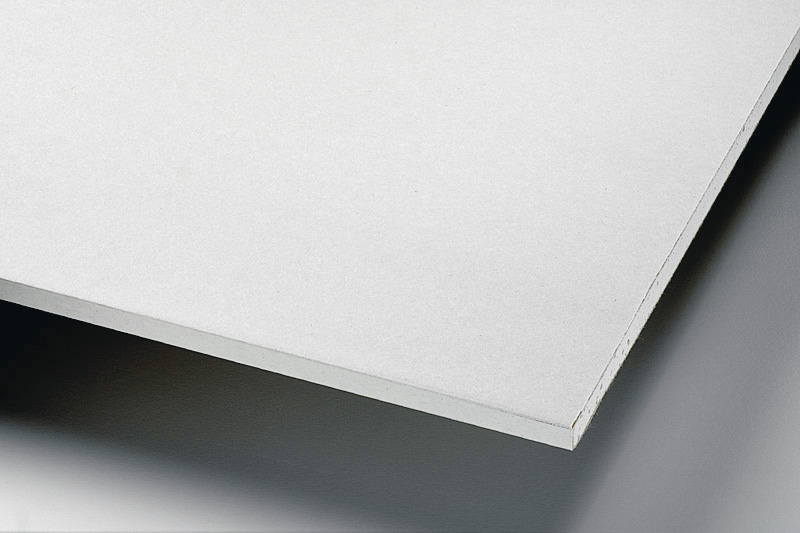
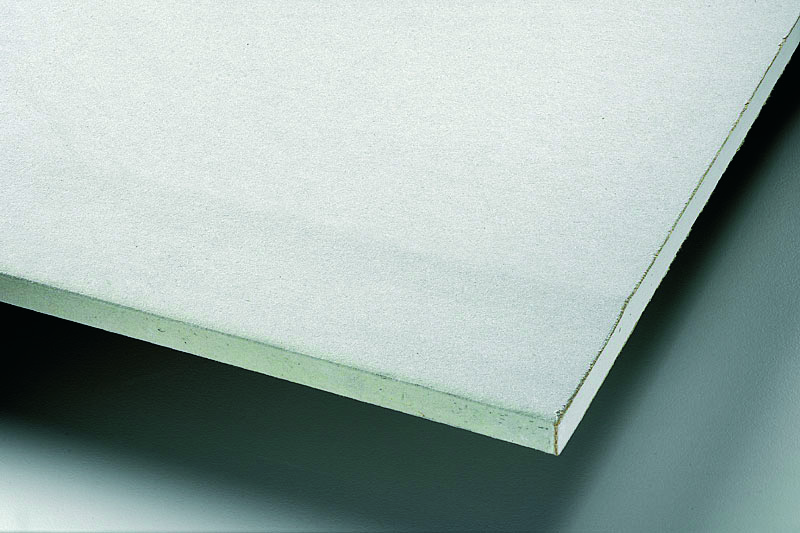
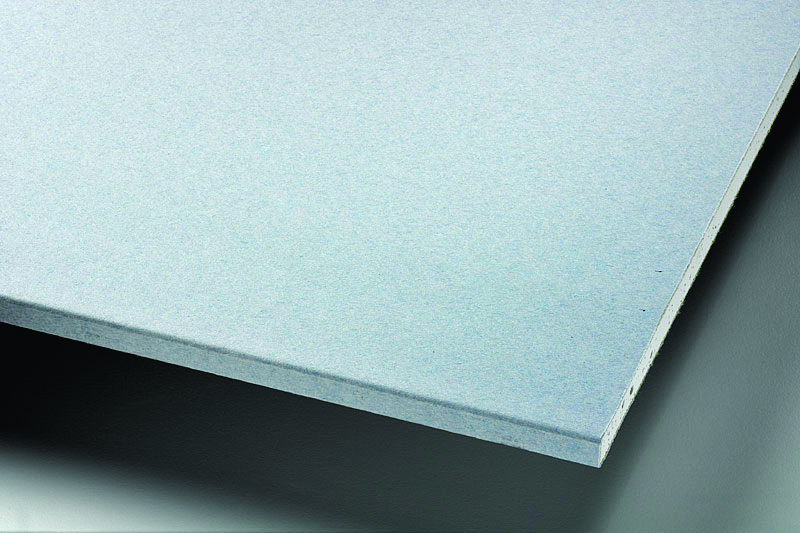
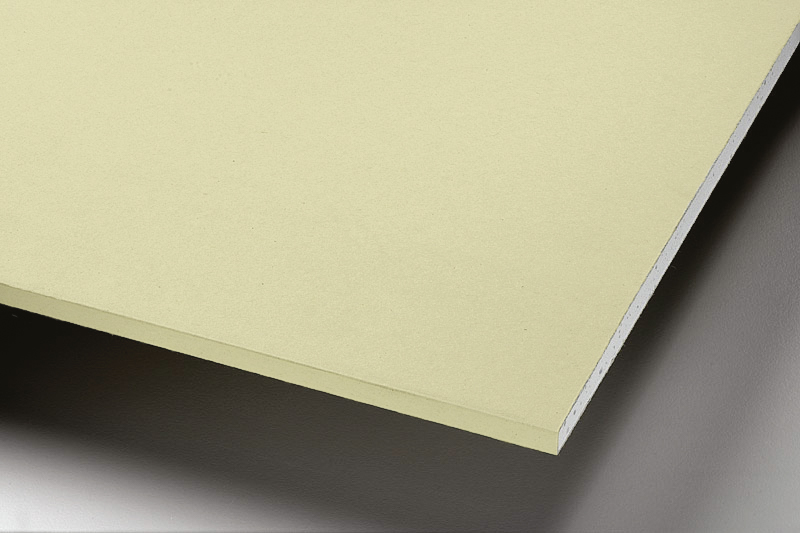
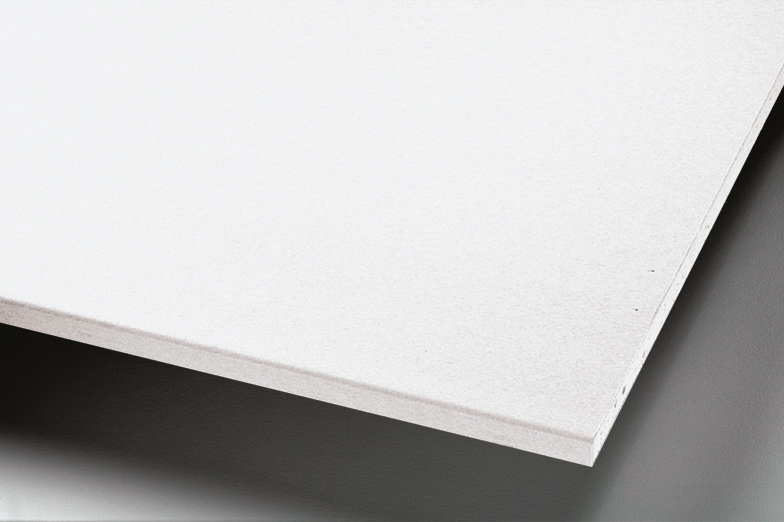
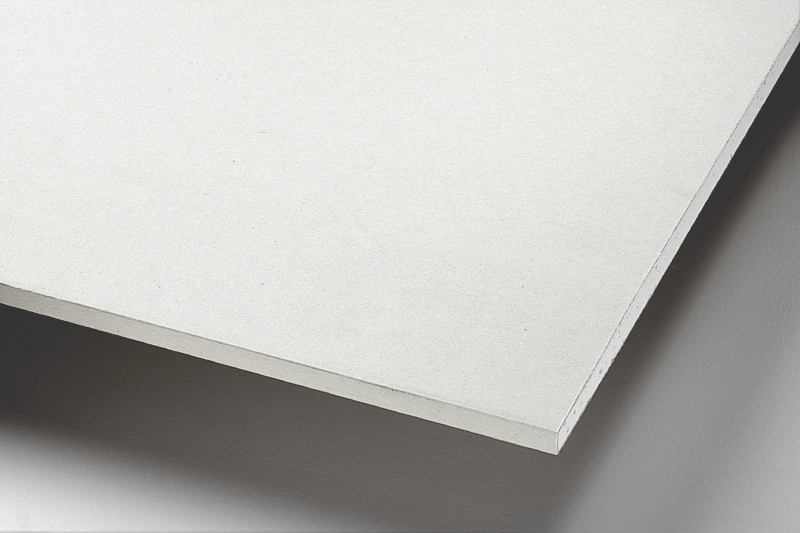
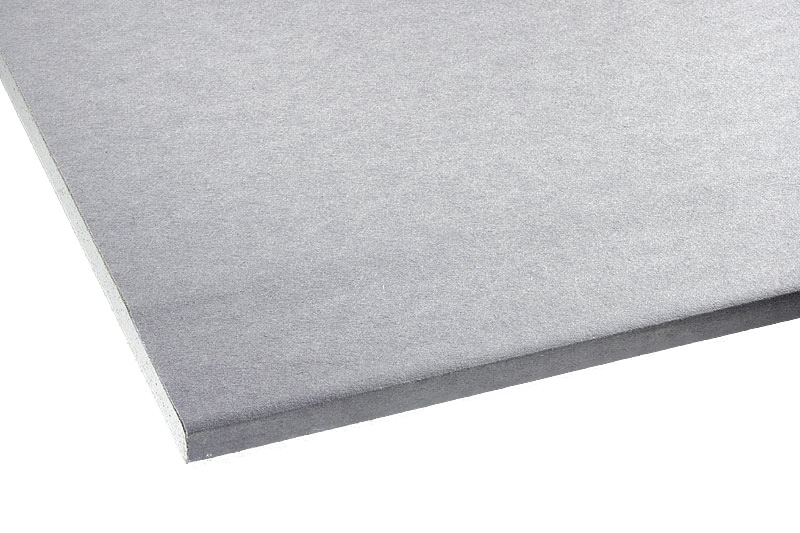
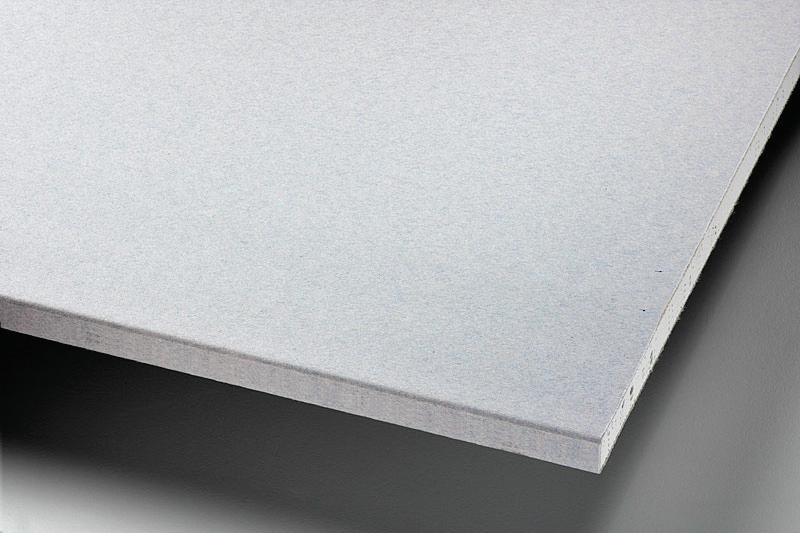
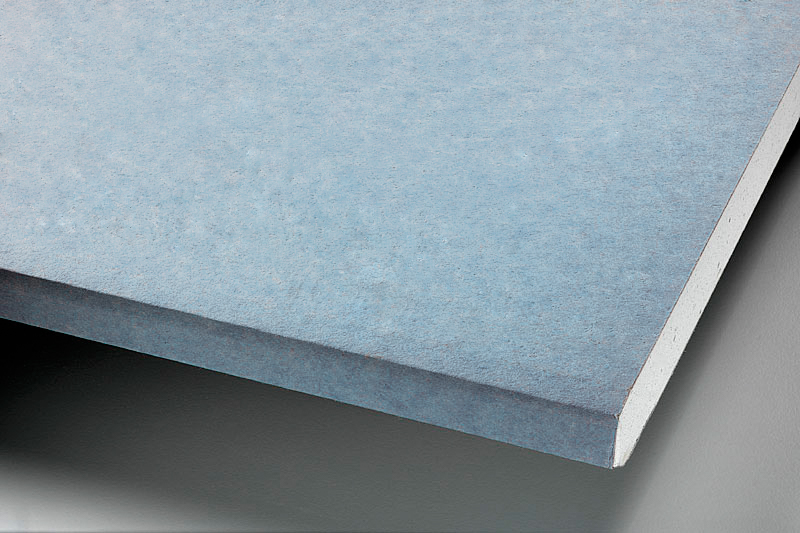
intershield is a 25mm thick, solid plasterboard that has been formulated to resist sound and fire as well as providing enhanced water and mould resistance capabilities. intershield is used in systems such as interhome and shaftwall which provide fire and acoustic separation. It is also a component in specialist commercial systems such as horizontal shaftwalls and column and beam protection systems. It is suitable for use in Siniat shaftwall and interhome systems where an FRL (Fire Resistance Level) is required. intershield has recycled blue liner paper. Benefits
- Mould resistance
- Water resistance
- intershield can substitute shaftliner in any Siniat system and maintain fire and acoustic performance
| SPECIFICATIONS | Plasterboard Description | Thickness (mm) | Width (mm) | Length (mm) | Weight (kg/m2) |
|---|---|---|---|---|---|
| QLD Specs | intershield* | 25 | 600 | 3000 | 21.9 |
| NEW Specs | intershield | 25 | 600 | 3000 | 21.9 |
| VIC Specs | intershield | 25 | 600 | 3000 | 21.9 |
| VIC Specs | intershield | 25 | 600 | 3600 | 21.9 |
| SA Specs | intershield* | 25 | 600 | 3000 | 21.9 |
| SA Specs | intershield* | 25 | 600 | 3600 | 21.9 |
| TAS Specs | intershield | 25 | 600 | 3000 | 21.9 |
| TAS Specs | intershield | 25 | 600 | 3600 | 21.9 |
| WA Specs | intershield* | 25 | 600 | 3000 | 21.9 |
| WA Specs | intershield* | 25 | 600 | 3600 | 21.9 |
| Resources | Download |
|---|---|
| Siniat Plasterboard Safety Data Sheet (SDS / MSDS) | Download |
| Siniat interhome for low-rise Manual | Download |
| onboard | assessing wet plasterboard | Download |
| onboard | maintaining plasterboard | Download |
| onboard | painting plasterboard | Download |
| Siniat Plasterboard Installation Guide | Download |
What is back-blocking?
Back-blocking is the process of reinforcing wall and ceiling joints with cut-to-size pieces of plasterboard adhered across the back of the joint with MastaBlock Back-Blocking Cement or Cornice Cement such as MastaCove45. Back-blocking helps prevent joint cracking and peaking caused by building movement, especially in large ceiling areas. Back-blocking forms part of the plasterboard lining standard AS/NZS 2589:2007, and manufacturers’ guarantees/warranties may be void if back-blocking has not been carried out. All back-blocking must be completed before commencing jointing. Each ‘Level of Finish’ has specific back-blocking requirements. For more information refer to Siniat’s technical literature.
What substrates can plasterboard be fixed to?
Plasterboard can be fixed to various substrates that form wall partitions, ceilings, bulkheads or ducting. Plasterboard is most commonly fixed to steel studs, timber studs or masonry for wall partitions. Plasterboard can be fixed to ceiling framing by either directly fixing to the joists or by first installing a metal furring channel and then fixing the plasterboard to the furring channel. Furring channel is also used to fix plasterboard linings for suspended ceilings or as an alternate method for fixing plasterboard to masonry on walls. All methods of the installation can be found in Siniat’s technical literature.
What methods of fixing should I use to install plasterboard?
The Australian Standard AS/NZS 2589:2007 allows three ways to fix plasterboard to steel or timber substrates. The options are screw fix only, nail fix only or a combination of either screw or nail with adhesive. The preferred method is to use screws or nails with adhesive. The nail fix only method is only suitable for a Level 3 Finish. Please refer to Siniat’s technical literature or AS/NZS 2589:2007 for correct installation details such as the spacing of fasteners and adhesive for each method and correct screw/nail type and size.
What is the best way to paint plasterboard once it is installed?
When installed in accordance with Siniat installation guidelines, the finished surface of all Siniat plasterboard accepts most types of decorative finish: emulsion or oil based paints, stipples, enamels, textured coatings and wallpapers. Matt finishes give the best appearance; gloss or sheen finishes tend to highlight any surface irregularities, as will harsh or glancing light. In order to obtain the best finish to the walls, Siniat recommends the following: Lay down the nap of any scuffed areas using MastaFinish, MastaLite or MastaGlide jointing compounds. The surface should be free of dust and other foreign matter. Ensure that the joint treatment is thoroughly dry before applying the sealer. Always seal over jointed and unjointed areas. Use roller application for paint. Overworking of sealant coat on jointed areas may cause paint to lift. Roller application applies uniform texture over the entire surface. Use only the best quality paints and other finishes. Use of sealers or undercoats that are water-based is preferred to reduce the possibility of raising the paper linerboard nap. Lightly sand between coats if nap is raised. Apply finishes in strict accordance with manufacturers’ instructions.
How do I finish a plasterboard joint once the sheet has been fixed?
There are only two types of joints formed when installing plasterboard – recessed edge joints or butt joints. The recessed edge joint is formed along the length of the sheets and the butt joint is formed along the width of the sheet. The finishing method is the same for both types of joints, but the width of compound coverage varies. Siniat recommends the use of paper tape with a three-coat compound application: two base coats (or bedding coats) and a third finishing coat.
How far apart should I install Control Joints?
Control joints must be installed to relieve stresses imposed by structural movement including those due to excessive changes in temperature and humidity. In long, unbroken partitions of wall or extensive ceiling areas, control joints should be placed not more than 12 metres in either direction, at any change in the substrate material and should be aligned with control joints in the structure. Control joints should also be considered at intersecting doorways, large light fixtures, heating vents and air diffusers.
What is glancing light?
Glancing light refers to light being cast along the face of a surface showing minute undulations. As a result of this light being cast, a shadow is produced on the other side of the undulation. This draws attention to surface texture variations such as plasterboard joints and patches, which under more diffused light would not be visible. The best way to overcome the effects of glancing light is to consider the following factors which will help to achieve the appearance of flatness:
- Design
- Natural and artificial lighting
- aint effects and paint sheen
- Texture and porosity
- ‘Level of Finish’
For more information of the cause, effect and remedial measures refer to Siniat’s technical newsletter ‘OnBoard Glancing Light’ and also the industry publication FWCIANZ Glancing Light.

BIM FILES
Siniat has a large library of CAD details for all types of systems.